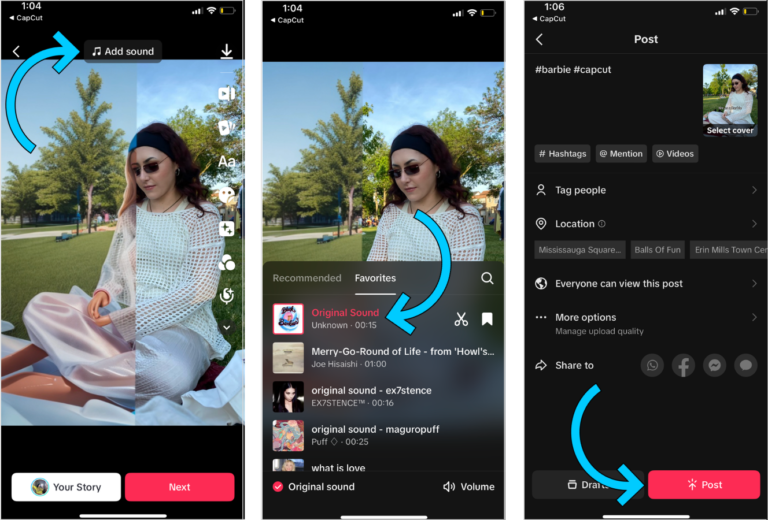
You can use CapCut on PC by installing an Android emulator like BlueStacks or NoxPlayer. This allows you to access CapCut’s powerful editing tools on a larger screen for more precise edits.
The well-known video editing program CapCut has emerged as the preferred mobile application. It is well known for its robust features and easy-to-use interface, which enable users to easily produce videos of professional quality. Although CapCut was first released as a mobile app, many people want to know how to use CapCut on a PC in order to have a better editing experience. We’ll show you how to utilize CapCut on a PC and make the most of it for your video productions in this post.
Download an Android Emulator
Install the Emulator
install capcut
Launch CapCut and Start Editing
Read inf: How to Remove Watermark in CapCut PC
Why Use CapCut on PC?
- Larger Screen: Editing on a bigger screen provides a more comfortable and detailed view of your video.
- Keyboard and Mouse Control: Use keyboard shortcuts and your mouse for faster editing and easier navigation through your project.
- Enhanced Audio and Video Controls: Fine-tune your audio levels and apply effects more precisely, which is especially helpful for more complex editing tasks.
Steps to Use CapCut on PC
1. Download an Android Emulator
An Android emulator is the first requirement because CapCut does not have a native PC version. Two of the most popular choices for using mobile apps on your PC are BlueStacks and NoxPlayer. Just download the version that corresponds to your operating system (Mac or Windows) from their websites.
2. Install the Emulator
After downloading the emulator, adhere to the installation guidelines. It should only take a few minutes to set up, and it is quite simple. To access the Google Play Store after installation, launch the emulator and log in using your Google credentials.
3. Install CapCut
After your emulator has been configured, launch the Google Play Store within it. Type CapCut into the search box, locate the app, and select “Install.” The CapCut icon will show up on the emulator’s home screen after installation.
4. Launch CapCut and Start Editing
To launch the app, click the CapCut icon. With the extra convenience of a larger screen and more accurate controls, you’ll be able to use the same editing features as the mobile version. You can apply effects, transitions, music, trim clips, and more by just dragging and dropping video files onto the timeline!
Conclusion
With a larger screen and more accurate controls, CapCut on PC is a great way to create and edit videos. You can use an Android emulator to access all of CapCut’s powerful features on your computer without any problems. CapCut gives you the tools you need for high-quality video production, whether you’re editing for professional projects or social media.
Is Capcut safe to use on PC?
Yes, CapCut is usually safe to use on a PC. Some people believe the app has risks, and parents should know about them.
Is Capcut easy to use on PC?
CapCut is easy to use on PC, even for beginners. It has a simple layout, allows you to drag and drop items, and offers many themes, making it a great choice for video editing on desktop computers.
How to use Capcut on PC without VPN?
To use CapCut on your PC without a VPN, download an emulator like BlueStacks, then get CapCut from the Play Store, and start editing if it’s available in your area.

